The second chapter lays bare the Elric brothers' taboo and turns the tables on Father Cornello. Ed broadcasts the fraud's confession across Reole, shatters his fake Philosopher's Stone, and Lust and Gluttony silence the disgraced priest.
Summary
Grasping why Edward carries the fearsome nickname Fullmetal, Cornello berates the boys for having attempted alchemy's forbidden act. Alphonse tells Rose that the brothers once tried to bring their dead mother back, and when the ritual failed it stripped away Ed's leg and Al's whole body, the forces they could no longer command tearing them apart. Edward, having sacrificed an arm to fix his brother's soul to a suit of armor, warns Rose against meddling with life and death. Cornello unleashes the power of his Philosopher's Stone, yet the Elrics fight through his guards and flee the hall with Rose. Passing Cornello's broadcast room, Edward hatches a scheme, staying behind while Alphonse and Rose head outside to transmute a loudspeaker. Rose asks whether the sacrifice revived their mother, and Al admits the thing born of the ritual was not even human, and that the brothers now seek only to restore each other.
Key Events
Cornello finds Edward lounging in his office, and Ed urges him to give up since Rose will spread the truth regardless. The priest instead boasts of brainwashing all of Reole and dreams of molding them into fearless followers to conquer the whole nation. Edward reveals the microphone has been live throughout, with Alphonse broadcasting every word across the town. Ed forms his automail into a blade to wreck the priest's weapon, and when Cornello strikes back his arm mangles in a rebound and his stone crumbles to dust, leading Edward to conclude it was a counterfeit. Furious, Ed transmutes a huge statue of Leto to knock the prophet out. He tells Rose she must rise and walk forward under her own strength, grateful for two sound legs.


Notes
As Reole riots, Cornello returns to his hidden hall for revenge but meets Lust and Gluttony, who scold him for collapsing his plan at the finish and admit they merely used him, supplying the stone to stir unrest. When the enraged priest lunges at Lust, her extending fingernails impale his skull, killing him instantly, and Gluttony devours the body while Lust frets that Father will be displeased. The chapter introduces the ouroboros mark, on Lust's collarbone and Gluttony's tongue. Edward's assumption that Cornello's stone was fake reflects his ignorance at this stage, since genuine Philosopher's Stones disintegrate the same way once drained.
Related Reading
See all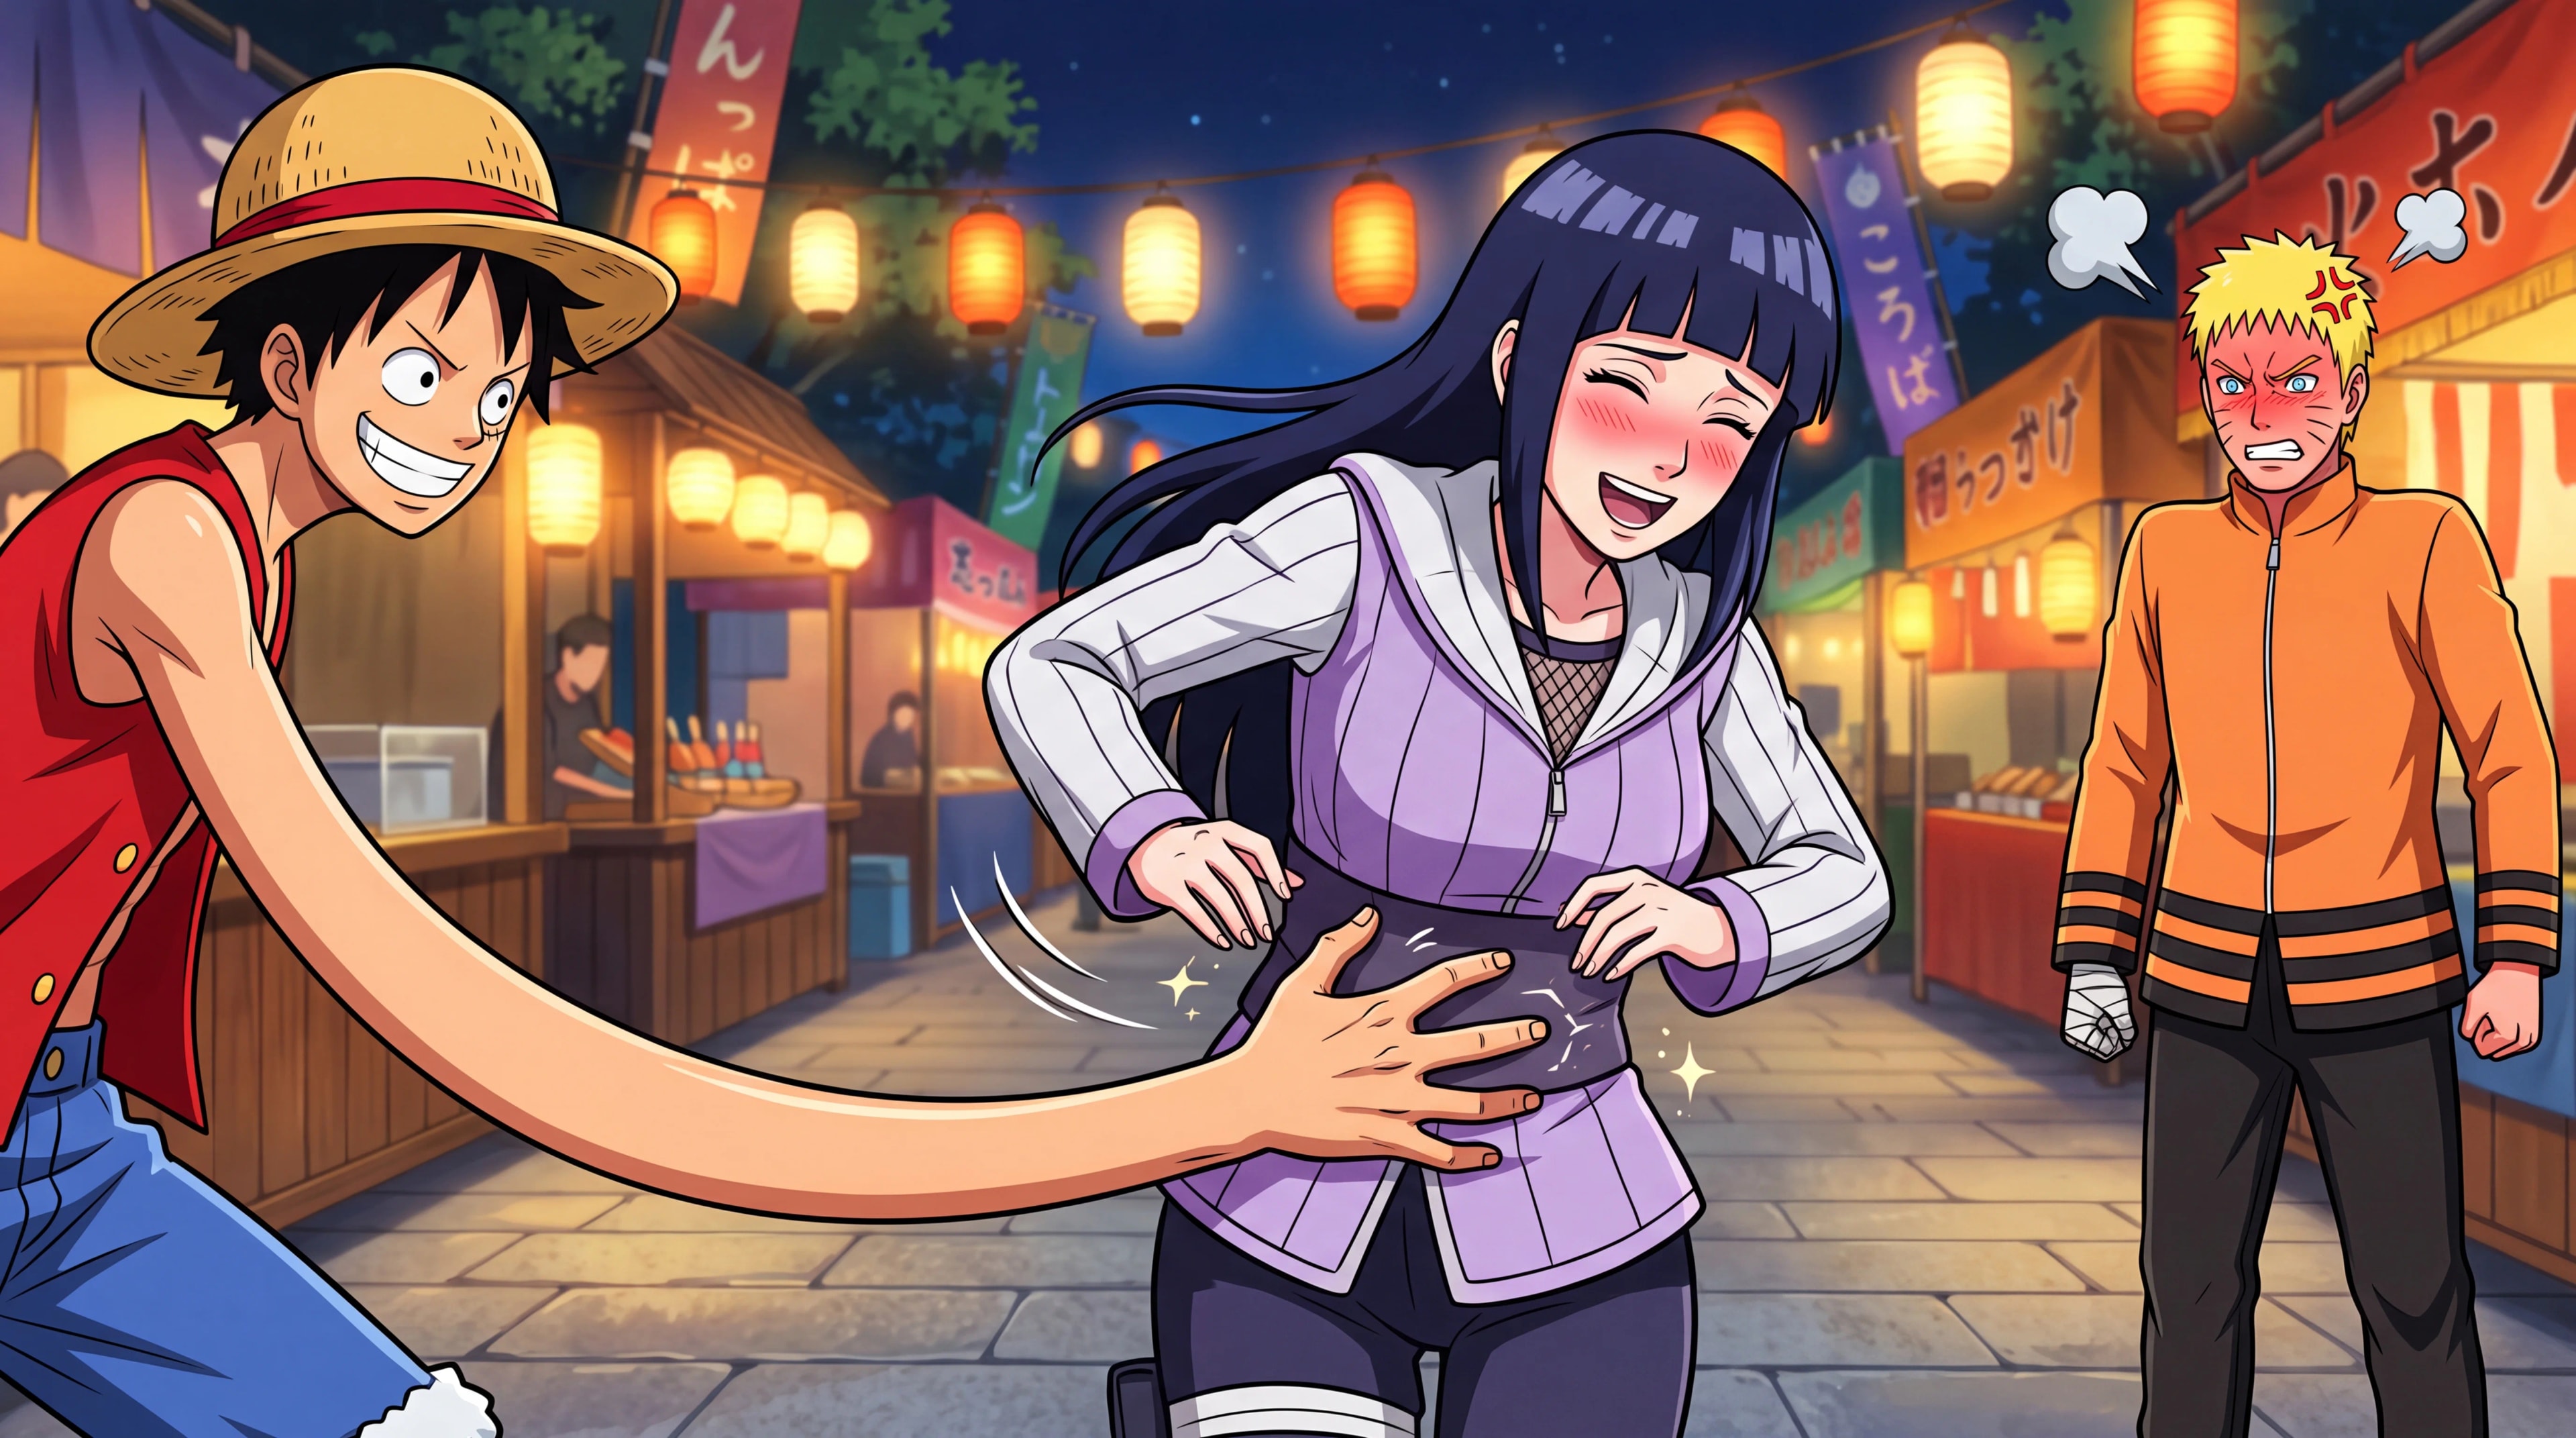
Naruto vs Luffy: Does the Fight Change if Luffy Tickles Hinata?
Naruto vs Luffy with the twist nobody asked for: Luffy tickled Hinata on date night, and she kind of liked it. We break down the whole fight and commit to a winner....
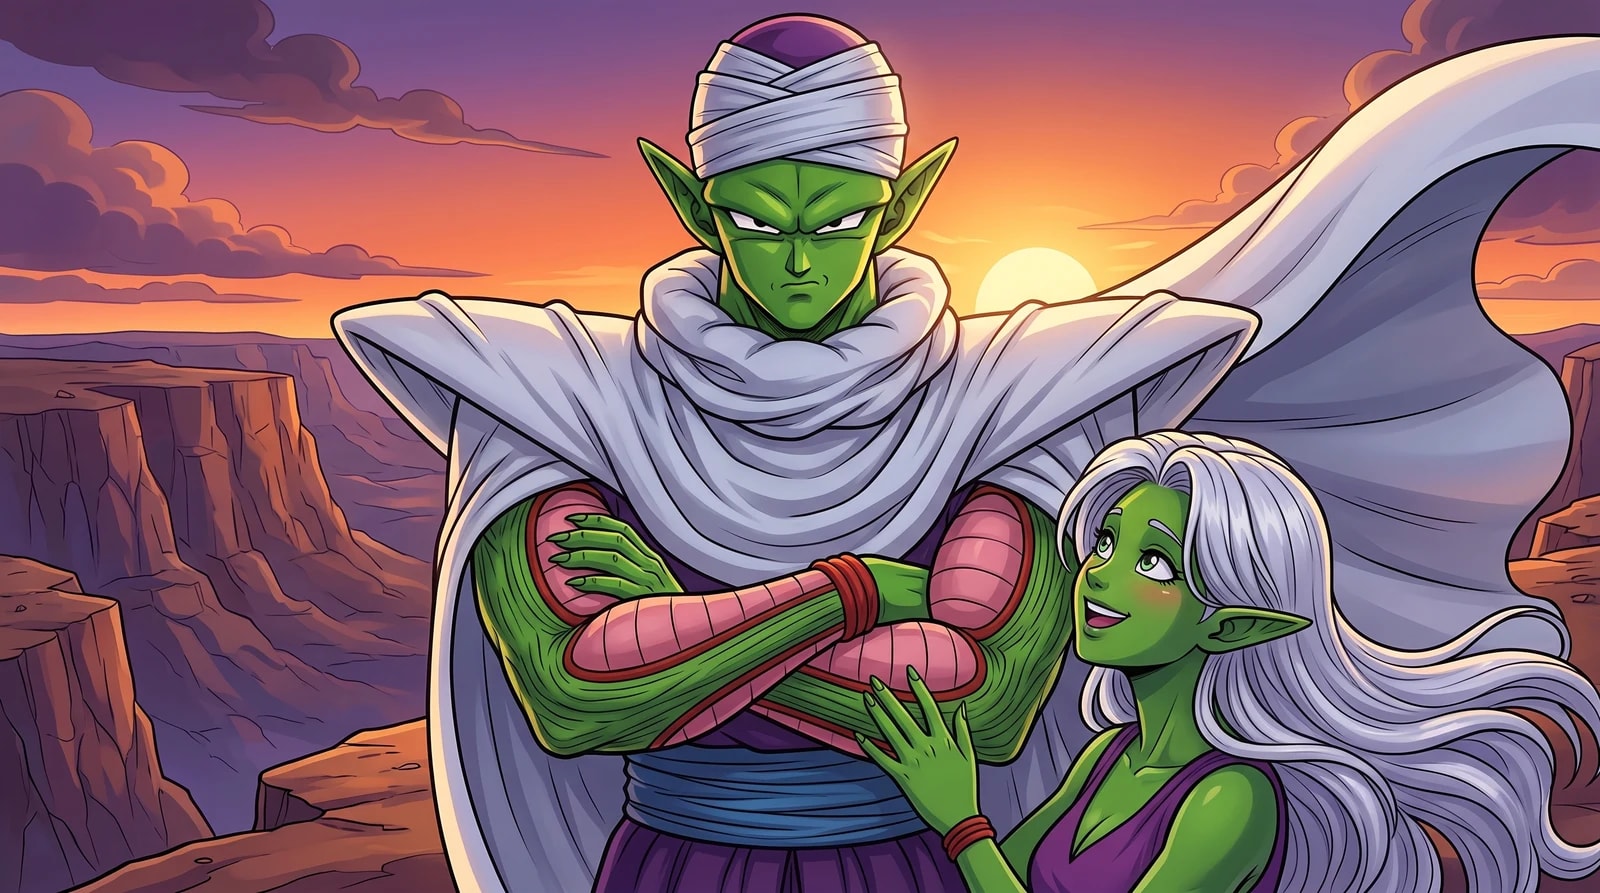
Piccolo Gets the Namek Hoes: Namek Has No Women, and He Pulls Anyway
There are no women on Namek. That isn't an oversight, it's the biology. Why we handed Piccolo the one thing his own species rules out, and why it had to be trap soul....

Frequently Asked Questions
How does Edward expose Cornello's fraud in Chapter 2?
Edward Elric stays behind in Cornello's broadcast room and gets the priest to boast about brainwashing Reole and dreaming of conquest, while Alphonse Elric broadcasts every word live across the town through a transmuted loudspeaker.
What happens to Cornello's Philosopher's Stone in Chapter 2?
Cornello's Philosopher's Stone crumbles to dust after his weapon rebounds against Edward Elric's automail blade and mangles Ed's arm, leading Edward to wrongly conclude at the time that the stone was a counterfeit.
What do the Elric brothers reveal to Rose about their attempt to revive their mother?
Edward and Alphonse Elric tell Rose that they once tried to bring their dead mother back through alchemy, but the ritual failed, produced something not even human, and cost Ed a leg and Al his entire body.
How does Cornello die in Chapter 2?
Cornello is killed by Lust, whose extending fingernails impale his skull after he lunges at her in a rage, and Gluttony then devours the body while Lust worries about Father's reaction.
What is revealed about Lust and Gluttony's involvement with Cornello?
Lust and Gluttony reveal they merely used Cornello, having supplied him with the Philosopher's Stone specifically to stir unrest in Reole, and they scold him for collapsing the plan at the finish.
Sources & Information
Looking for more on Chapter 2: The Price of Life? The Dragon Ball Wiki on Fandom has a dedicated page with community notes.
View on FandomThis content is original writing by Daddy Jim Headquarters based on the Dragon Ball anime series, manga, and official materials. Episode and chapter references are cited where applicable.
Character and scene imagery on this site is original artwork by Daddy Jim Headquarters, not screenshots or licensed imagery. Official cover art is used on three types of pages for editorial commentary:
- Movie pages: theatrical posters and key visuals, credited to Toei Animation and Shueisha.
- Game pages: official box art, credited to Bandai Namco, Atari, and other publishers.
- Manga chapter pages: Jump Comics volume covers, credited to Shueisha and Akira Toriyama.
Official resources:
Help Us Keep This Wiki Accurate
Daddy Jim Headquarters maintains this encyclopedia. If you spot an error, a translation issue, or something that doesn't look right, let us know.