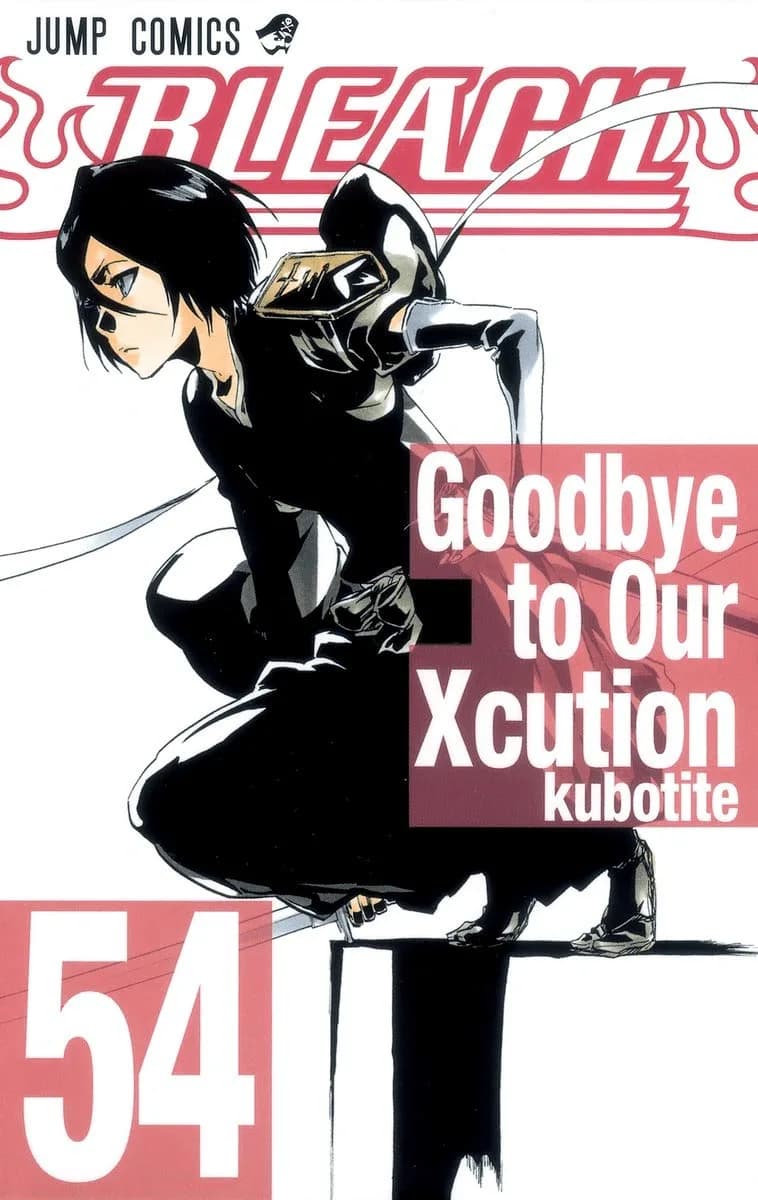
As Rukia falls and Riruka slips away, Byakuya releases his Bankai and turns Tsukishima's own knowledge of his uncuttable zone into a killing trap, thanking his beaten foe for the rare thrill of a fight fought on the edge of madness.
Main Characters (4)
Summary
Struck by Riruka, Rukia crumples while her attacker vanishes from sight. The clash between Byakuya and Tsukishima, meanwhile, grinds on. Tsukishima needles the captain, arguing that even after reverting to Shikai to work around the Hurtless Area, and even as his skill climbs alongside his broken blade, the seventeen months Byakuya spent training count for nothing so long as he is driven back to his sealed sword. Whatever the captain has gained, Tsukishima claims to have matched step for step.
Gazing at the shattered edge of his weapon, Byakuya calls up his Bankai. Tsukishima says he saw it coming, having witnessed the release so often that it bores him, and presses his attack from inside the uncuttable zone. He is caught off guard when Byakuya sends blades into that very space. Because his opponent had located the safe pocket, Byakuya reasoned exactly where the strike would come, and he explains that steering his blades into the zone can still prove lethal. Tsukishima brushes it off as a reckless gamble, insisting that guiding the petals by hand doubles their speed but amounts to suicide within the Hurtless Area.
Tsukishima blocks Byakuya's hand, wrenching control of the blades away and wounding the captain, then boasts that a slight change of timing renders the swarm impossible to evade. When Byakuya raises his bloodied left arm, Tsukishima braces for Kidō and dares him to try, certain he can counter any spell. Instead Byakuya rams the arm into his chest, for hidden in his fist are blades he had quietly gathered to stab with. Reflecting that a warrior should meet combat prepared and at full strength, Byakuya admits he has tasted, for the first time, the strange joy of fighting on the brink of madness, and he thanks Tsukishima for the bout.

Key Events
Rukia collapses and Riruka disappears. Byakuya releases Bankai and exploits Tsukishima's knowledge of the Hurtless Area by steering blades into it, then finishes him with blades concealed in his fist. Byakuya thanks Tsukishima for the fight.
Related Reading
See all
The Bleach Female Characters Nobody Can Agree On, Settled
Five Bleach female characters, ranked and settled. Yoruichi sits at number five, the spot nobody expects, and our number one is an Arrancar with a soft heart....
Naruto vs Luffy: Does the Fight Change if Luffy Tickles Hinata?
Naruto vs Luffy with the twist nobody asked for: Luffy tickled Hinata on date night, and she kind of liked it. We break down the whole fight and commit to a winner....
Frequently Asked Questions
What happens in Bleach chapter 472, "Razoredge Requiem"?
In chapter 472, "Razoredge Requiem," Byakuya releases his Bankai and turns Tsukishima's own knowledge of the uncuttable Hurtless Area into a killing trap, finishing his foe and thanking him for the rare thrill of the fight.
How does Byakuya defeat Tsukishima?
In chapter 472, Byakuya Kuchiki steers his Bankai blades directly into the Hurtless Area, reasoning exactly where Tsukishima would strike from that safe pocket. He then finishes Tsukishima with blades he had quietly gathered and hidden in his fist, ramming his arm into the Fullbringer's chest.
Why does Byakuya thank Tsukishima?
In chapter 472, Byakuya Kuchiki reflects that a warrior should meet combat prepared and at full strength, then admits he has tasted, for the first time, the strange joy of fighting on the brink of madness. He thanks Tsukishima for the bout.
How does Byakuya use the Hurtless Area against Tsukishima?
In chapter 472, because Tsukishima had located Senbonzakura's uncuttable safe pocket, Byakuya reasoned exactly where his attack would come and guided his blades into that very zone. He explains that steering the petals by hand can still prove lethal within the Hurtless Area.
What happens to Rukia and Riruka in this chapter?
In chapter 472, Rukia crumples after being struck by Riruka, and her attacker vanishes from sight. The chapter then focuses on the conclusion of Byakuya's duel with Tsukishima.
Sources & Information
Looking for more on Razoredge Requiem? The Bleach Wiki on Fandom has a dedicated page with community notes.
View on FandomThis content is original writing by Daddy Jim Headquarters based on the Bleach anime series, manga, and official materials. Episode and chapter references are cited where applicable.
Rights holders
- Created byTite Kubo
- Published byShueisha
- Animated byStudio Pierrot
All rights belong to their respective owners.
Character and scene imagery on this site is original artwork by Daddy Jim Headquarters, not screenshots or licensed imagery. Official cover art is used on three types of pages for editorial commentary:
- Movie pages: theatrical posters and key visuals, credited to Studio Pierrot and the production committee.
- Game pages: official box art for the Bleach console and mobile games, credited to Bandai Namco and other publishers.
- Manga chapter pages: Jump Comics volume covers, credited to Shueisha and Tite Kubo.
Official resources:
Help Us Keep This Wiki Accurate
Daddy Jim Headquarters maintains this encyclopedia. If you spot an error, a translation issue, or something that doesn't look right, let us know.