Nappa Unleashed
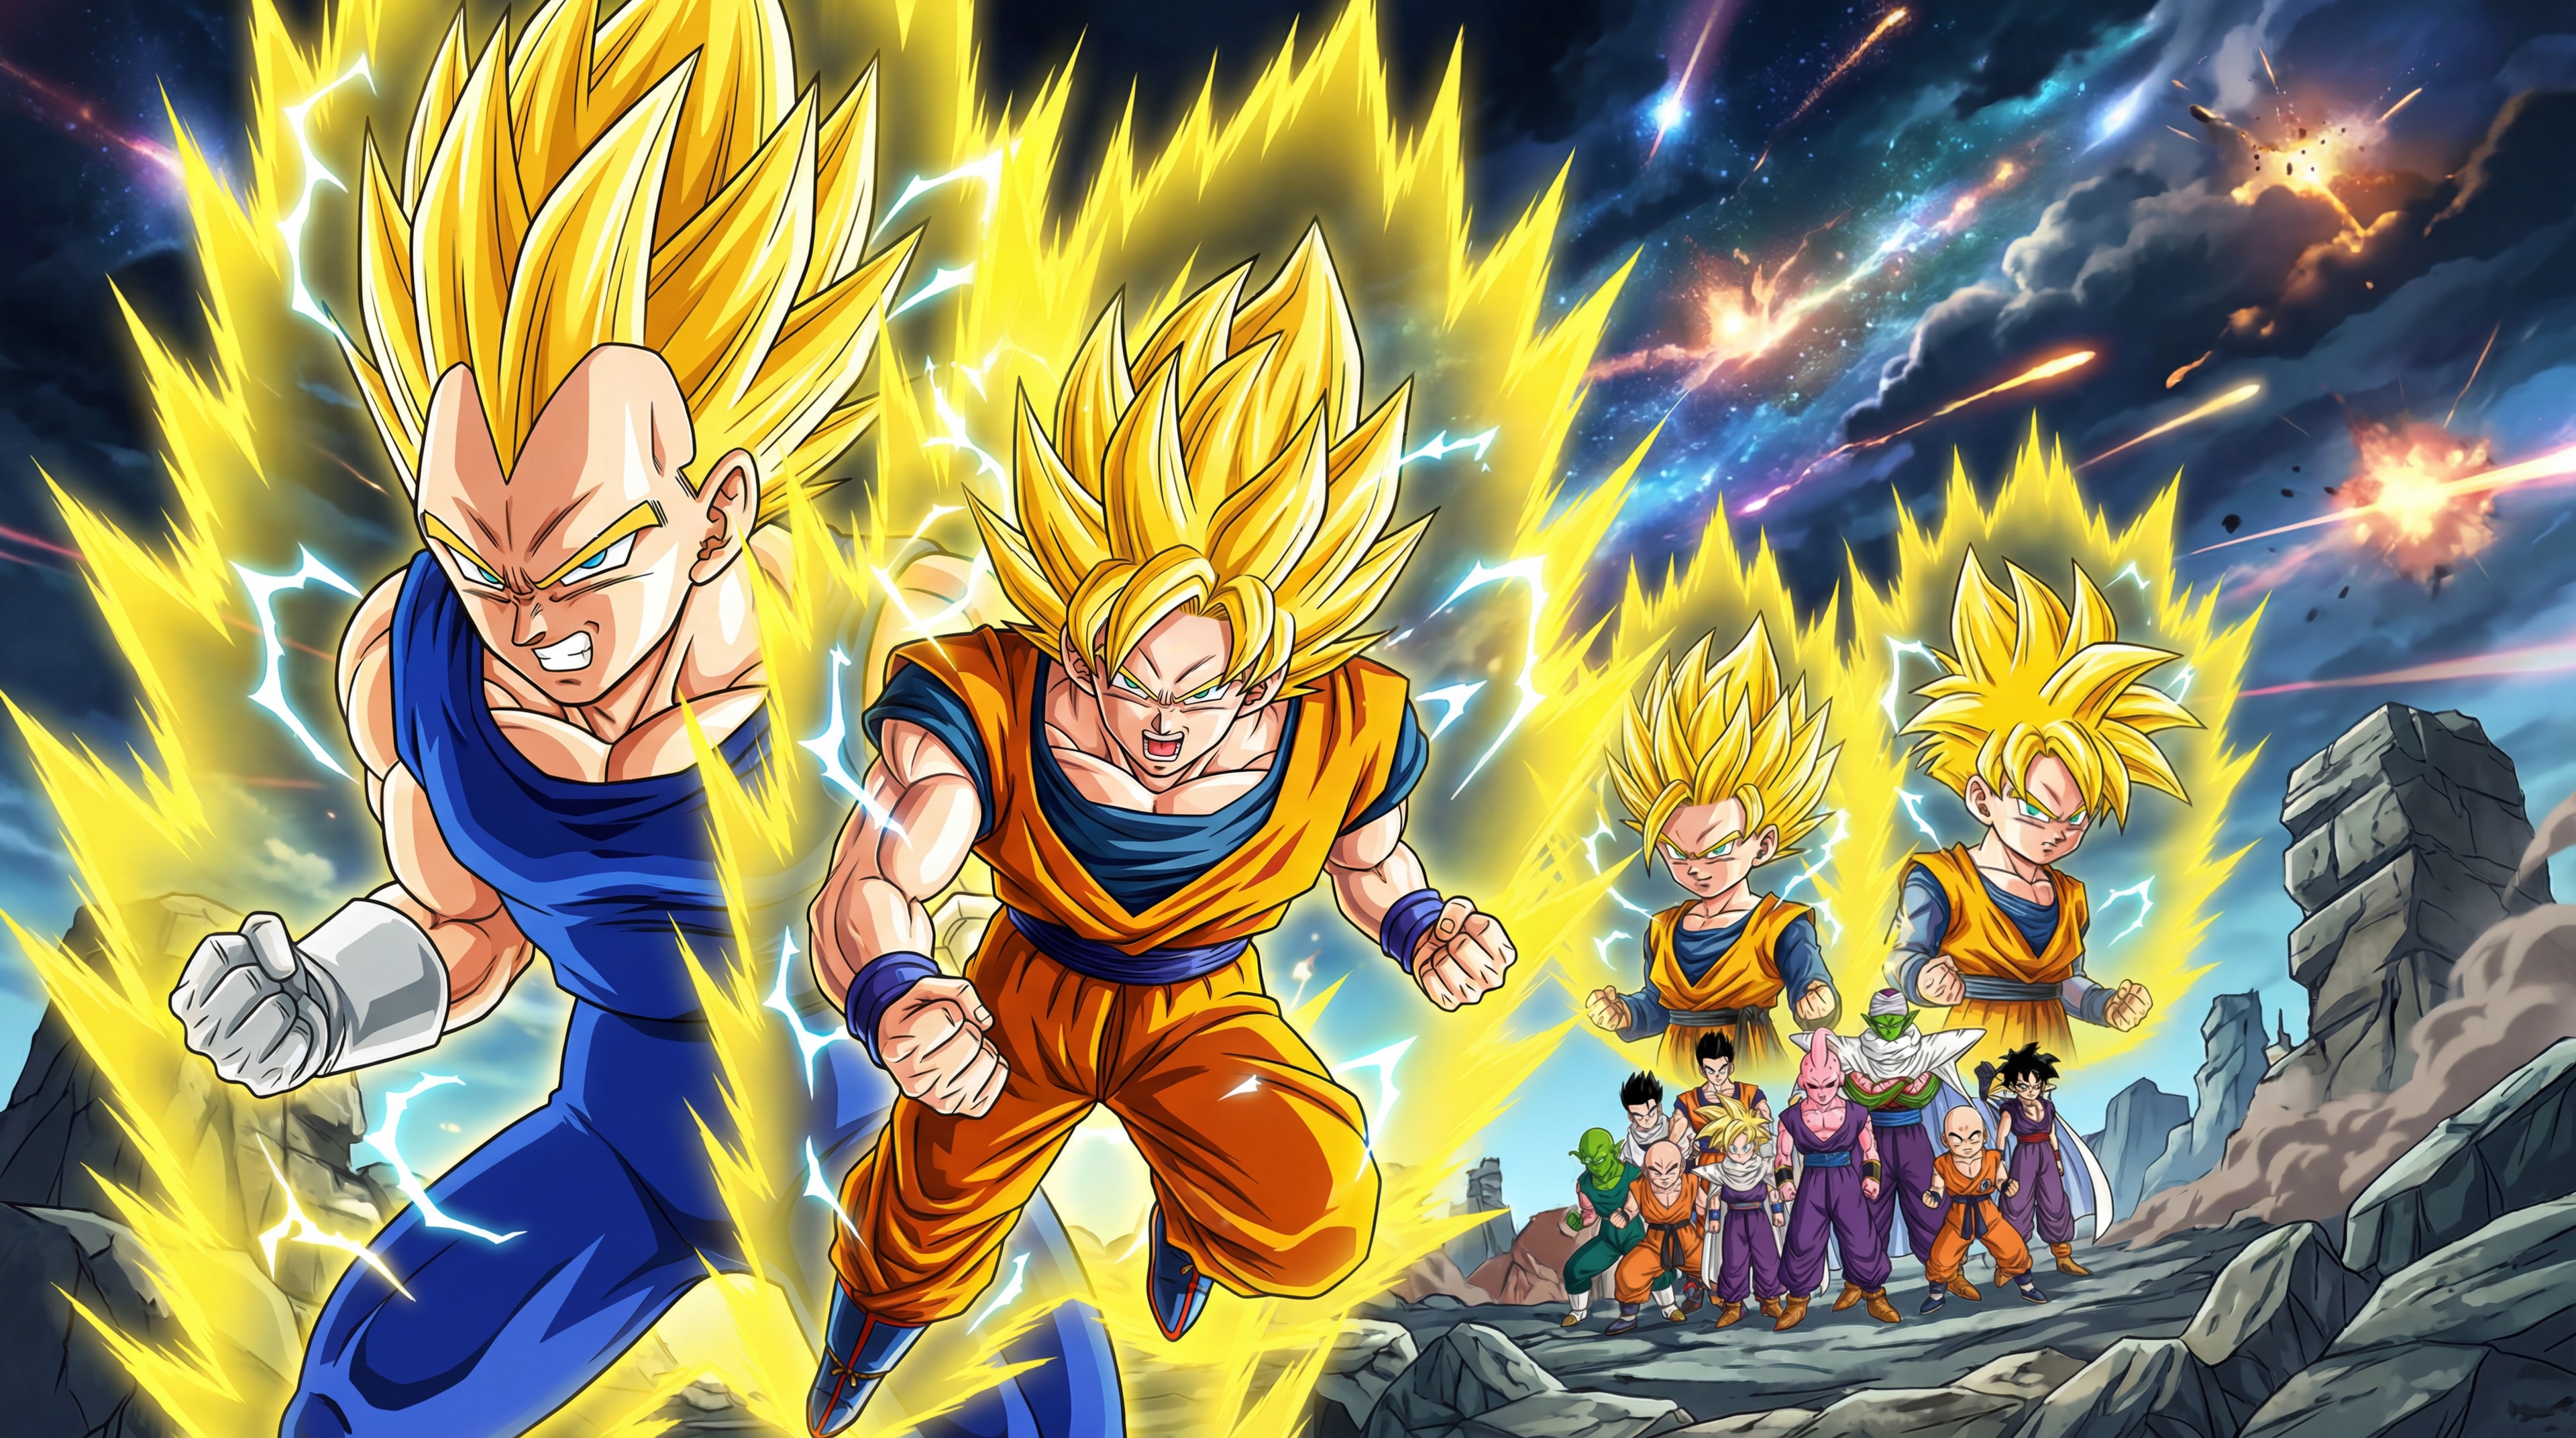
Krillin's fury over Yamcha's death explodes into action. He unleashes his Scattering Bullet technique, a barrage of energy blasts that shreds through three of the four remaining Saibamen instantly. The last one dodges and lunges at Gohan, but Piccolo dispatches it effortlessly. With the Saibamen eliminated, the real battle begins as Nappa steps forward.
The gap in power is immediately and brutally apparent. Nappa tears through the Z Fighters like they are standing still. His attacks carry devastating force, and his durability seems limitless. In a horrifying display of raw strength, he severs Tien's left arm with a single punch, reducing one of Earth's finest warriors to a one-armed fighter struggling to stay conscious.
Watching his best friend suffer pushes Chiaotzu past his breaking point. The small warrior leaps onto Nappa's back, clinging tight as he channels every ounce of his energy into a self-destruct technique. The explosion engulfs Nappa completely, but when the smoke fades, the Saiyan is completely unharmed. Chiaotzu's sacrifice has accomplished nothing.



Tien's Last Breath
Grief and rage consume Tien. With one arm gone and his best friend dead, he has nothing left to lose. He channels his remaining life energy into a single, devastating Tri-Beam aimed squarely at Nappa. The blast is powerful enough to shatter Nappa's armor, but the Saiyan himself emerges from the crater battered yet still standing. Tien, having burned through every last trace of his life force, collapses and dies where he stands.
Three fighters are now gone, and Nappa barely seems winded. Krillin, Gohan, and Piccolo stand as the last line of defense, hopelessly outmatched. When Krillin reveals that Goku is on his way with greatly increased power, Vegeta's curiosity is piqued. He grants the remaining fighters a three-hour reprieve to wait for this supposed savior, eager to see what a fellow Saiyan can do.
Sacrifice Without Reward
The deaths of Chiaotzu and Tien represent some of the most emotionally devastating moments in the Saiyan Saga. What makes them hit so hard is their futility. Both warriors give absolutely everything, including their lives, and it changes nothing. Nappa is simply too powerful, and no amount of courage or determination can bridge that gap.
Vegeta's decision to grant a three-hour wait is not mercy but calculation. He wants to test himself against a stronger opponent, treating the entire invasion as a chance to find worthy competition. For the surviving Z Fighters, those three hours represent both a lifeline and a countdown to possible annihilation.
관련 읽을거리
전체 보기
자주 묻는 질문
"버텨라, 교주! 천진반의 절규의 기공포!"에서는 무슨 일이 일어나나요?
나파가 싸움에 들어서며, Z 전사들이 감당할 수 있는 한계를 한참 넘어선 위력을 보입니다. 교주는 절박한 자폭 공격으로 자신을 희생하고, 천진반은 마지막 기공포에 자신의 생명력을 태우지만, 어느 쪽도 그 사이어인 거구를 멈추지 못합니다.
"버텨라, 교주! 천진반의 절규의 기공포!"는 어느 드래곤볼 시리즈의 에피소드인가요?
"버텨라, 교주! 천진반의 절규의 기공포!"는 드래곤볼 Z 카이의 10화입니다. 나파가 싸움에 들어서며, Z 전사들이 감당할 수 있는 한계를 한참 넘어선 위력을 보입니다.
"버텨라, 교주! 천진반의 절규의 기공포!"는 어떻게 시작되나요?
야무치의 죽음에 대한 크리링의 분노가 행동으로 폭발합니다. 그는 산탄 공격을 풀어놓아, 남은 사이바맨 넷 가운데 셋을 단번에 갈가리 찢어버립니다. 마지막 한 마리가 회피하며 손오반에게 달려들지만, 피콜로가 가볍게 처리합니다.
"버텨라, 교주! 천진반의 절규의 기공포!"의 중간부는 어떤 내용인가요?
슬픔과 분노가 천진반을 집어삼킵니다. 한쪽 팔을 잃고 가장 친한 친구도 떠난 마당에, 그에게는 더 잃을 것이 없습니다. 그는 남은 생명 에너지를 단 한 번의 무시무시한 기공포에 모아 나파를 정확히 겨눕니다.
"버텨라, 교주! 천진반의 절규의 기공포!"는 어떻게 끝나나요?
베지터가 3시간의 대기를 허락한 것은 자비가 아니라 계산입니다. 그는 더 강한 적과 자신을 시험해보고 싶어 하고, 이 침공 전체를 마땅한 경쟁 상대를 찾을 기회로 다룹니다. 살아남은 Z 전사들에게 그 3시간은 생명선이자 가능한 멸절을 향한 카운트다운입니다.
출처 및 정보
시트 꽉 조인, 차오즈! 천진반의 비명는 트리 빔!에 대해 더 알고 싶으신가요? Fandom의 드래곤볼 위키에 커뮤니티 노트가 담긴 전용 페이지가 있습니다.
Fandom에서 보기이 콘텐츠는 드래곤볼 애니메이션 시리즈, 만화, 공식 자료를 바탕으로 대디 짐 본부가 직접 작성한 글입니다. 해당하는 경우 에피소드 및 챕터 출처를 표기하였습니다.
이 사이트의 캐릭터 및 장면 이미지는 스크린샷이나 라이선스 이미지가 아닌 대디 짐 본부의 오리지널 아트워크입니다. 공식 커버 아트는 편집 해설 목적으로 세 가지 유형의 페이지에만 사용됩니다.
- 극장판 페이지: 극장 포스터 및 핵심 비주얼 (Toei Animation 및 Shueisha 제공).
- 게임 페이지: 공식 박스 아트 (Bandai Namco, Atari 및 기타 퍼블리셔 제공).
- 만화 챕터 페이지: Jump Comics 단행본 커버 (Shueisha 및 아키라 토리야마 제공).
위키 정확성 유지에 도움을 주세요
대디 짐 본부는 이 백과사전을 관리하고 있습니다. 오류, 번역 문제 또는 이상한 점을 발견하시면 알려주세요.