Luffy charges Magellan only to find the warden's venom-soaked body makes any clean hit impossible. Bentham, knowing a rescue attempt would kill him, flees in terror, leaving Luffy to gamble everything on a single Gear Second strike.
Summary
Ignoring Bentham's frantic pleas to run, Luffy throws himself at Magellan and swiftly discovers the trap of it: the warden's flesh weeps poison, and his attacks reach across the room. Magellan announces that the stairways leading to the third and fifth floors are now barricaded, the remaining Jailer Beasts and Sadi posted at one while Hannyabal's guards hold the other. He then looses the Hydra, scattering the captain and his friend in opposite directions.
To draw the warden off, Bentham briefly takes Luffy's form, but the realization that any genuine help would cost him his life sends him fleeing the battle instead. Already breathing in some of the toxin, Luffy keeps his secrets even as Magellan presses him on how he infiltrated the prison.

Key Events
Elsewhere, Buggy and Galdino plot a return to the third floor while the warden is occupied. Reaching a gate, they are offered free passage by Hannyabal, who only wants Magellan blamed and ousted, but the pair read it as a ruse and turn on the warden along with his men. Buggy hurls a Muggy Ball and Galdino wields his wax powers to scatter the defenders. With the duel against Magellan turning against him, Luffy shifts into Gear Second, then while soaking up still more venom he drives a Jet Bazooka deep into the warden's midsection.
Related Reading
See all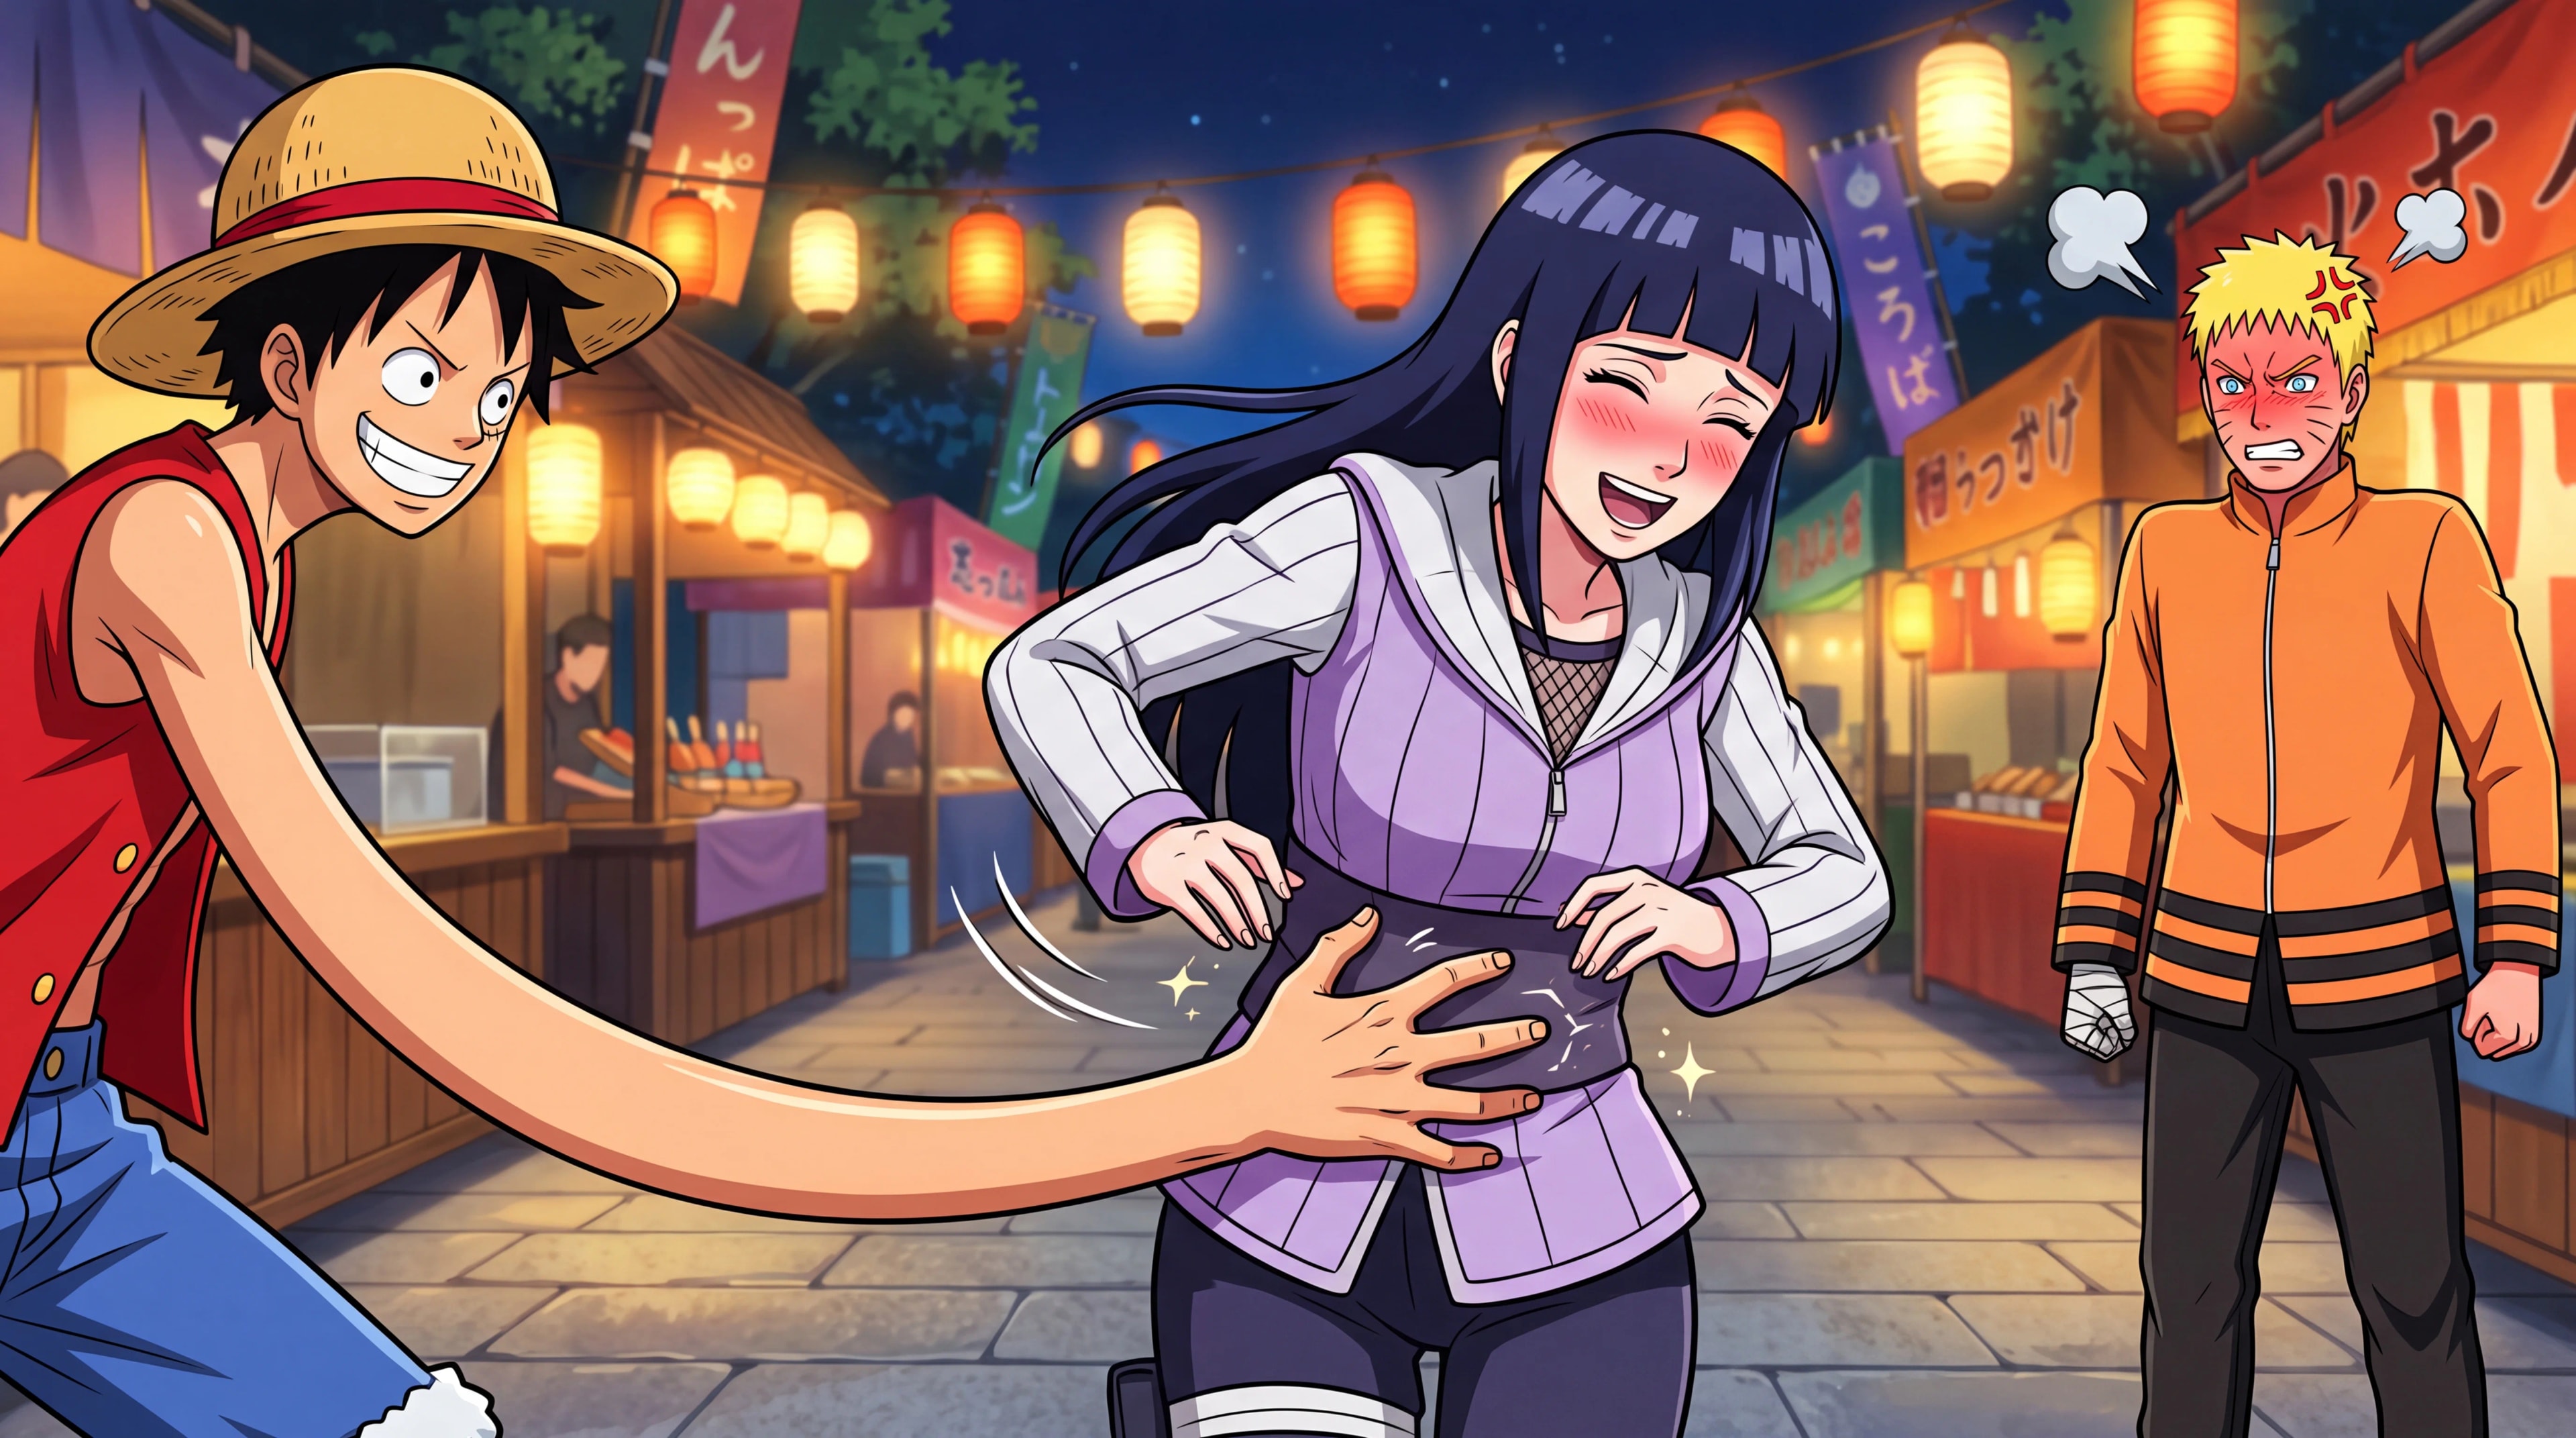
Naruto vs Luffy: Does the Fight Change if Luffy Tickles Hinata?
Naruto vs Luffy with the twist nobody asked for: Luffy tickled Hinata on date night, and she kind of liked it. We break down the whole fight and commit to a winner....

The Most Popular Women of One Piece: A Fan's Journey Through Anime's Greatest Female Characters...
When I first decided to commit to watching One Piece seriously, I knew I was embarking on one of anime's longest and most beloved series. With over 100...
Notes
This entry continues the Impel Down Arc and lays bare how lopsided a head-on brawl with a poison-bodied foe truly is. It debuts several of Magellan's toxic techniques along with anime-original moves for Bentham, and it dwells on Bon Kurei's tragic position, willing to die for his friend yet unable to actually shield him against such an enemy.
Frequently Asked Questions
Does Bon Clay survive Magellan?
In Episode 435, Bentham briefly takes Luffy's form to draw Magellan off, but realizing genuine help would cost him his life, he flees the battle and survives the encounter.
What is Magellan's poison?
Magellan's body constantly weeps poison, and in Episode 435 his attacks reach across the room, making a clean hit on him impossible without absorbing toxin.
Why does Bentham flee from the fight with Magellan?
Bentham realizes that any real assistance against Magellan would cost him his life, so despite Luffy's peril he flees the battle in Episode 435 after briefly taking Luffy's form to draw the warden off.
What does Magellan do to trap the fugitives on Level 4?
Magellan announces that the stairways to the third and fifth floors are barricaded, posting the Jailer Beasts and Sadi at one and Hannyabal's guards at the other, before unleashing his Hydra to scatter Luffy and Bentham.
How does Luffy strike back at Magellan despite his poison?
After shifting into Gear Second, Luffy absorbs still more of Magellan's venom but manages to drive a Gomu Gomu no Jet Bazooka deep into the warden's midsection in Episode 435.
Sources & Information
Looking for more on Mighty Magellan! Bon Clay Bugs Out!? The One Piece Wiki on Fandom has a dedicated page with community notes.
View on FandomThis content is original writing by Daddy Jim Headquarters based on the One Piece anime series, manga, and official materials. Episode and chapter references are cited where applicable.
Rights holders
- Created byEiichiro Oda
- Published byShueisha
- Animated byToei Animation
All rights belong to their respective owners.
Character and scene imagery on this site is original artwork by Daddy Jim Headquarters, not screenshots or licensed imagery. Official cover art is used on three types of pages for editorial commentary:
- Movie pages: theatrical posters and key visuals, credited to Toei Animation and Toei Company.
- Game pages: official box art for the One Piece console and mobile games, credited to Bandai Namco.
- Manga chapter pages: Jump Comics volume covers, credited to Shueisha and Eiichiro Oda.
Official resources:
Help Us Keep This Wiki Accurate
Daddy Jim Headquarters maintains this encyclopedia. If you spot an error, a translation issue, or something that doesn't look right, let us know.