Luffy layers Gear Third over Gear Second to pound a swollen Moria into surrendering his hoard of shadows. As the first light of dawn breaks across Thriller Bark, those whose shadows were stolen start to fade from existence.
Main Characters (7)
Summary
Bloated by thousands of absorbed shadows, Moria looms over the island while the Rolling Pirates scatter for safety, and the rising light begins to scorch everyone still lacking a shadow. Lola refuses to run, staking her survival on Luffy. The captain sends his crew to evacuate the others and faces Moria alone, dropping into Gear Second to rain swift, heavy strikes that jar loose some of the trapped shadows. Moria seals him inside a Black Box and stomps the trap, but Luffy will not be crushed and forces Gear Third on top of his active Gear Second.

Key Events
A barrage of Jet Rocket and Jet Bazooka blows makes Moria cough up hundreds of shadows. Boxed in by Brick Bats, Luffy bursts free and swears no one will ever hammer him down. Triggering Gear Third while Gear Second still runs, the captain wrings the rest of the hoard out of Moria with a colossal Gum-Gum Giant Jet Shell, and Thriller Bark's central tower comes crashing down onto the warlord. Then the morning light spreads across the island, and the bodies of Sanji, Robin, Zoro, and Luffy start to char away as Usopp and Chopper cry out in dread that their shadows may arrive too late.
Related Reading
See all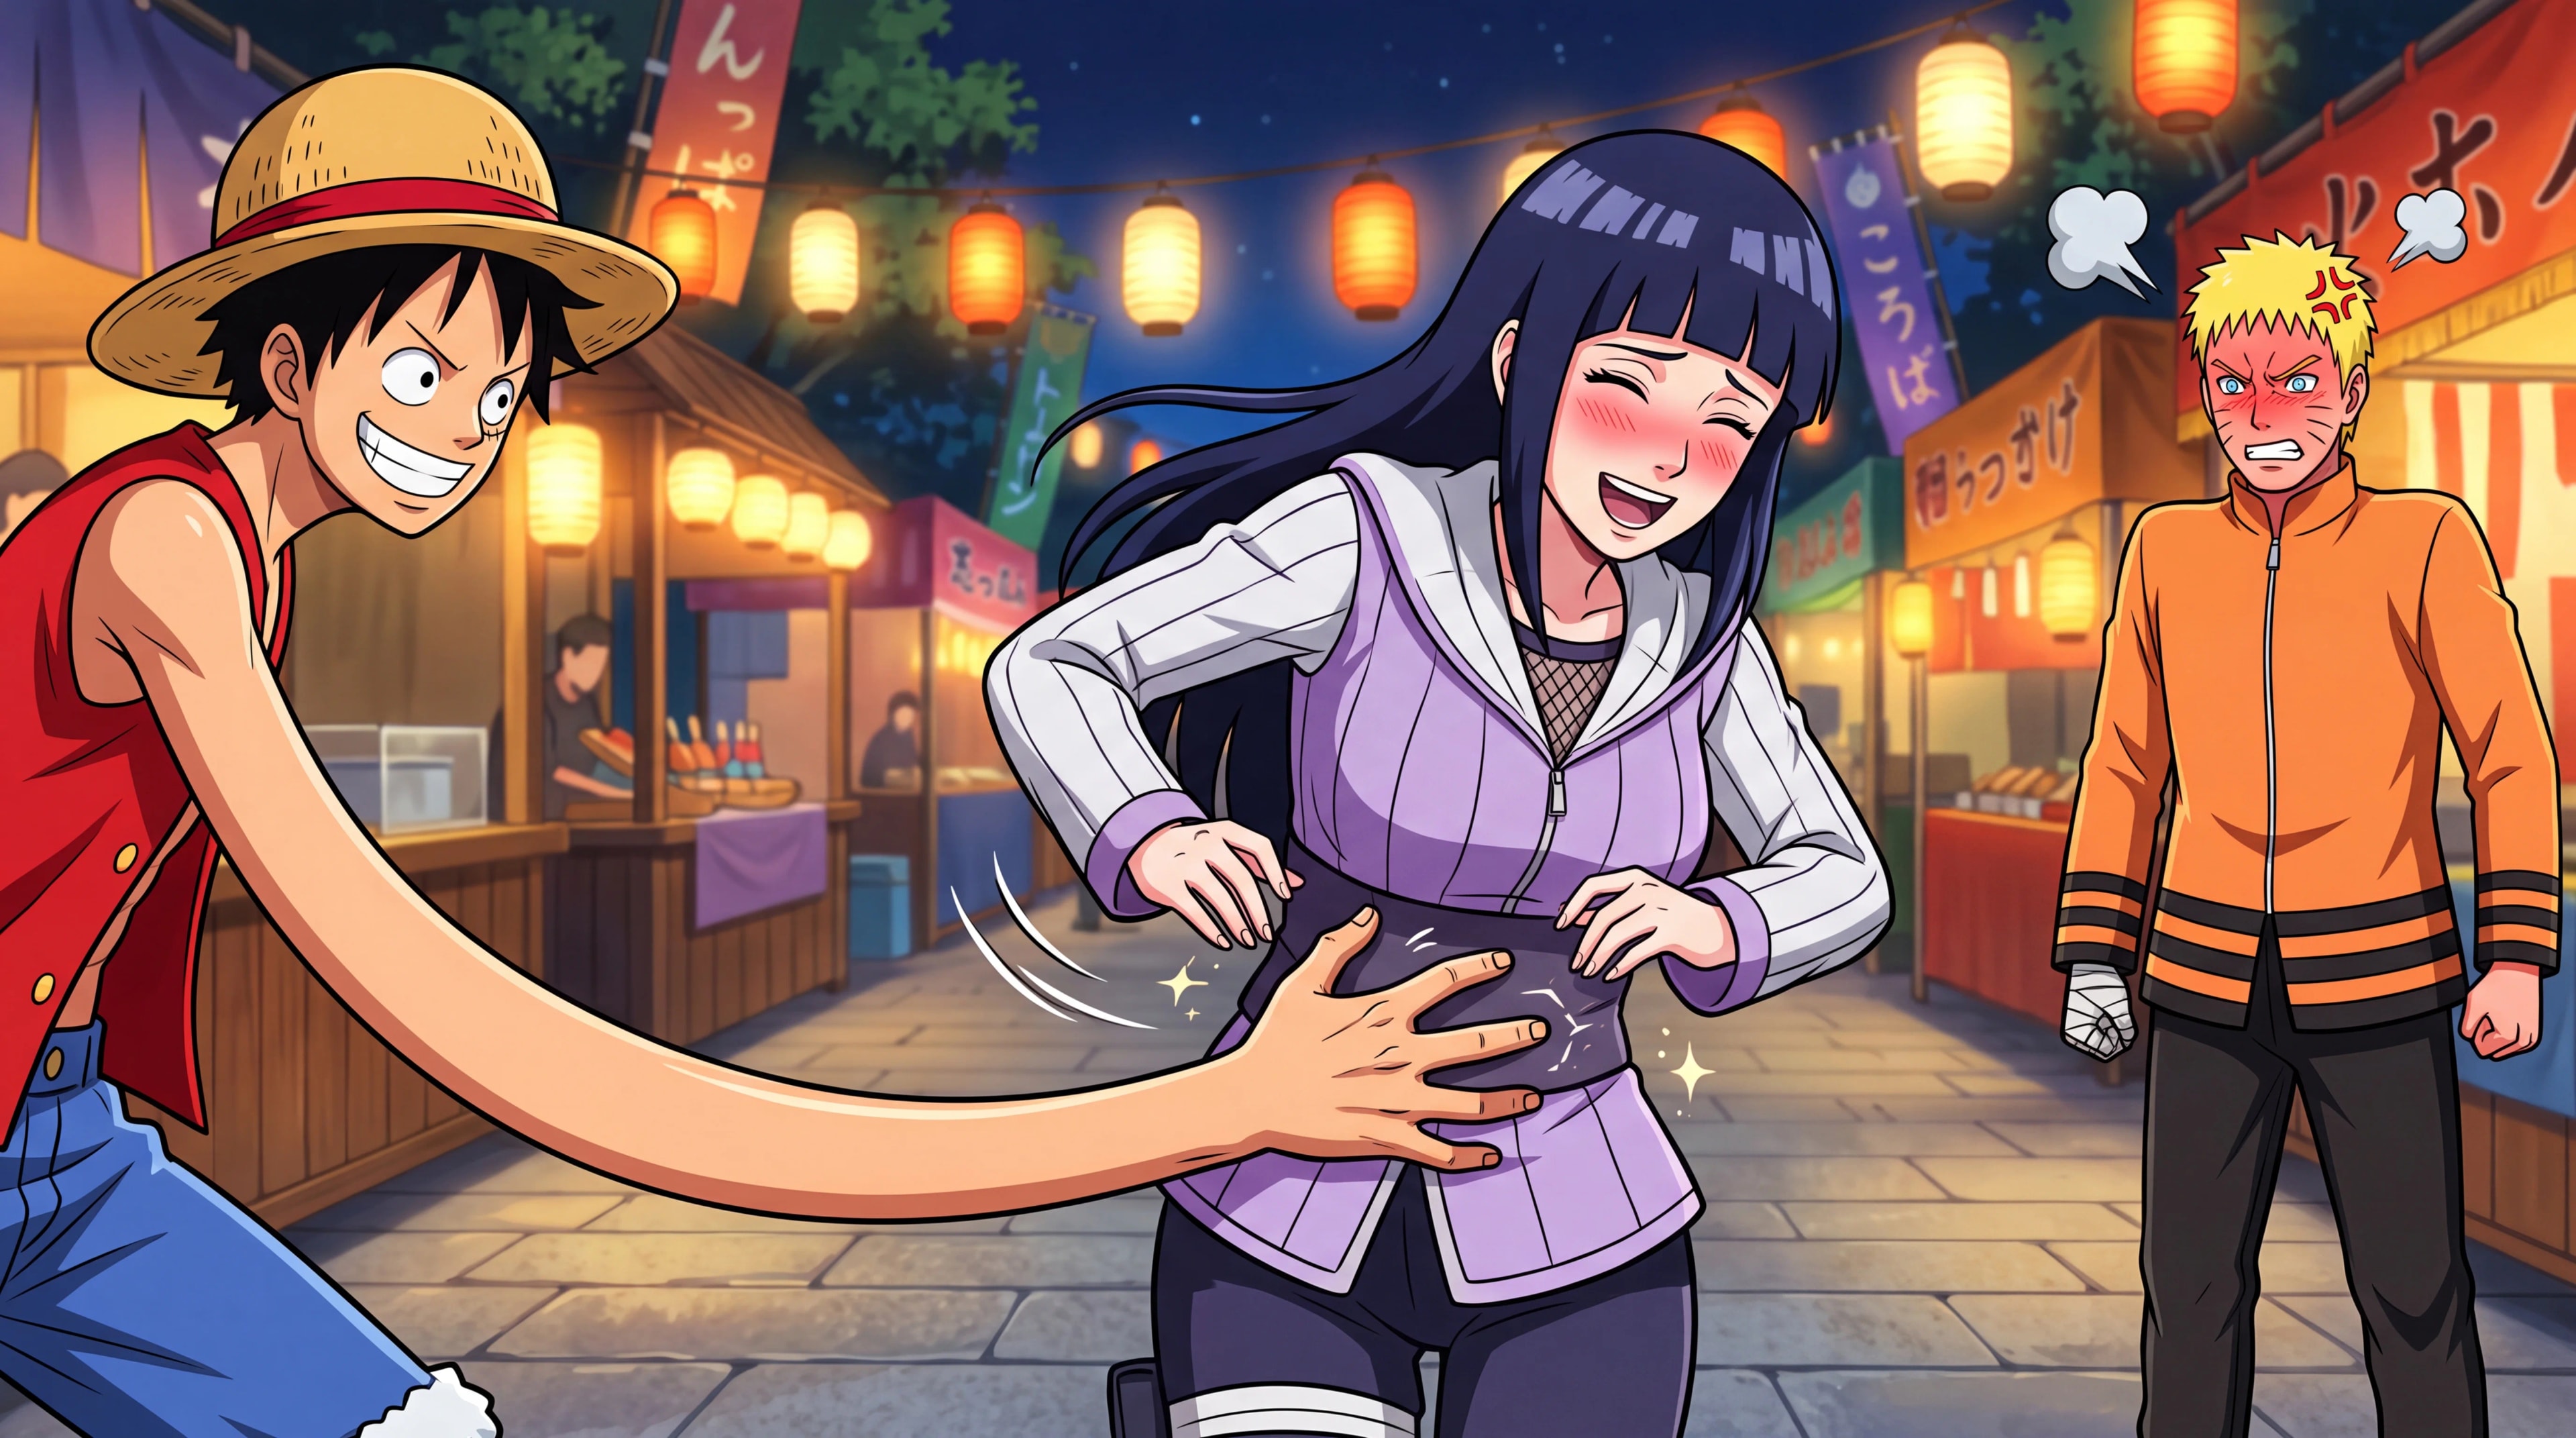
Naruto vs Luffy: Does the Fight Change if Luffy Tickles Hinata?
Naruto vs Luffy with the twist nobody asked for: Luffy tickled Hinata on date night, and she kind of liked it. We break down the whole fight and commit to a winner....

The Most Popular Women of One Piece: A Fan's Journey Through Anime's Greatest Female Characters...
When I first decided to commit to watching One Piece seriously, I knew I was embarking on one of anime's longest and most beloved series. With over 100...
Notes
Pandaman turns up in a cameo, and near the thirteen-minute mark a Rolling Pirate is drawn with a Majin 'M' mark borrowed from Dragon Ball Z. The episode introduces Luffy's Jet Rocket and Gigant Jet Shell alongside Moria's Black Box, adapting the final beats of the shadow-thief's collapse.
Frequently Asked Questions
What happens in Episode 374 of One Piece?
In Episode 374, Luffy layers Gear Third over Gear Second to pound the swollen, shadow-gorged Moria into submission. As dawn breaks over Thriller Bark, Sanji, Robin, Zoro, and Luffy begin to char away since their shadows have not yet returned.
How does Luffy defeat Gecko Moria in Episode 374?
Luffy drops into Gear Second to rain quick, heavy strikes on the bloated Moria, jarring loose hundreds of trapped shadows. After bursting free of Moria's Black Box trap, he triggers Gear Third on top of his active Gear Second and wrings the rest of the hoard out of Moria with a colossal Gum-Gum Giant Jet Shell.
Why do the Straw Hats' bodies start to vanish in Episode 374?
As morning light spreads across Thriller Bark in Episode 374, those still lacking a shadow begin to be scorched away. Sanji, Robin, Zoro, and Luffy's bodies start to char since their stolen shadows have not yet been returned.
What is Moria's Black Box technique in Episode 374?
Moria's Black Box is a technique used to seal Luffy inside a trap before stomping it to crush him. Luffy refuses to be crushed and bursts free, forcing Gear Third on top of his still-active Gear Second.
What cameo appears in Episode 374?
Pandaman turns up in a cameo in Episode 374, and near the thirteen-minute mark a Rolling Pirate is drawn with a Majin 'M' mark borrowed from Dragon Ball Z. The episode also introduces Luffy's Jet Rocket and Gigant Jet Shell.
Sources & Information
Looking for more on Our Bodies Vanish! The Morning Sun Shines on the Nightmarish Island!? The One Piece Wiki on Fandom has a dedicated page with community notes.
View on FandomThis content is original writing by Daddy Jim Headquarters based on the One Piece anime series, manga, and official materials. Episode and chapter references are cited where applicable.
Rights holders
- Created byEiichiro Oda
- Published byShueisha
- Animated byToei Animation
All rights belong to their respective owners.
Character and scene imagery on this site is original artwork by Daddy Jim Headquarters, not screenshots or licensed imagery. Official cover art is used on three types of pages for editorial commentary:
- Movie pages: theatrical posters and key visuals, credited to Toei Animation and Toei Company.
- Game pages: official box art for the One Piece console and mobile games, credited to Bandai Namco.
- Manga chapter pages: Jump Comics volume covers, credited to Shueisha and Eiichiro Oda.
Official resources:
Help Us Keep This Wiki Accurate
Daddy Jim Headquarters maintains this encyclopedia. If you spot an error, a translation issue, or something that doesn't look right, let us know.